
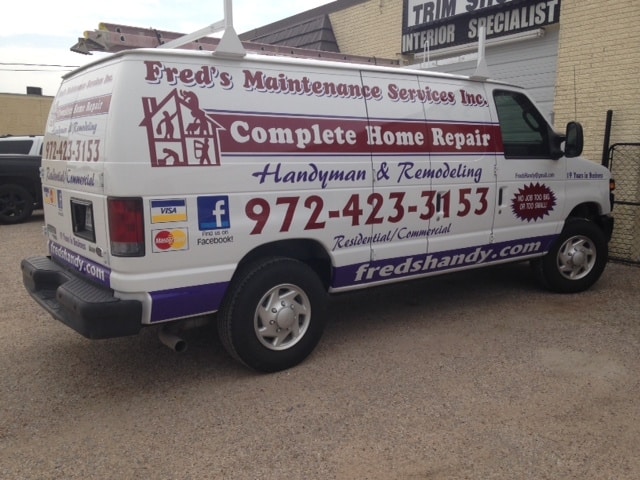
Adding decals to your vehicle can be a great way to personalize your ride. Many business owners may even opt for customized decals as a means of advertising on a company vehicle. From small decals to larger ones, the application process is similar; when done correctly, decal application should be smooth and seamless. Errors in application, on the other hand, can result in unsightly bubbles and other issues. By having a better understanding of how to apply decals to your vehicle, you can take on this sometimes-daunting task with confidence. Here is how to put a car decal on:
1. Choose a Location for the Decal
Start by deciding where you’d like to place the decal on your vehicle. Some car decals are made specifically for use on windows and will adhere best there, whereas others may be suitable for direct application to the vehicle itself (such as on a door or hood). When selecting a location for your decal, keep in mind that smoother surfaces tend to make for easier application. Applying across contoured surfaces can pose some unique challenges, so you may want to seek professional assistance.
2. Mark the Location With Masking Tape
Once you’ve chosen a great location for your car decal, it’s a good idea to measure and mark it out using a few pieces of masking tape to create a border. This will give you a better idea of how the decal will look and how much room it will take up on your vehicle before you apply it. If you’re trying to center the decal, make sure to use a tape measure to mark out the exact center; don’t rely on “eyeing it” alone.
When marking out the location of the decal, be sure to use masking tape that can easily be removed without leaving a residue or damaging your vehicle’s paint in any way.
3. Prepare the Area for Application
Next, it’s time to prepare the area for successful application of the decal. This step is crucial because a surface that is not properly cleaned and dried before application may result in air bubbles or the decal failing to adhere completely.
Rubbing alcohol is generally a good choice for cleaning windows and exterior vehicle surfaces. This solution will do a thorough job of cleansing the area and will also dry quickly. Whatever you do, be sure to avoid any cleaners that contain oils because these may leave a residue on the surface that will prevent the decal from adhering. If you don’t want to use rubbing alcohol (or don’t have any on hand), a simple mixture of warm water and gentle dish soap will do the trick. Just be sure that the area is completely died before moving onto the next step.
4. Carefully Remove the Decal Backing
For smaller decals, you may want to remove the entire backing before you begin the application process. For larger decals, however, it may make more sense to remove just a small portion at a time. Removing the entire backing from a larger decal may make it difficult to work with, as the ends may stick to each other or present other challenges.
5. Apply the Decal, Starting With a Corner
Using your masking tape border as a guide, begin applying the decal to your car. It is typically easier to start with a corner – especially if you’re working with a square or rectangular decal. As you gradually apply more and more of the decal, be sure to keep it as taut as possible to avoid air bubbles or other errors. Using a straight-edge tool – such as a ruler or even a credit card – can be especially helpful here.
If you’re applying a larger decal, you’ll want to remove the backing as you go. For smaller decals, you have likely already removed all the backing.
6. Remove the Transfer Tape
Once you’ve applied the decal completely, it’s generally best to leave the transfer tape on the top as it dries. Generally, about 30 minutes is a good amount of time to wait before removing the transfer tape. Giving it this time will ensure that the decal has completely transferred, which will reduce the chances of any of it remaining on the tape when you peel it off. During this waiting time, it’s a good idea to park your vehicle in an area of direct sunlight, if possible.
7. Smooth Out Air Bubbles as Needed
Once you’ve removed the transfer tape, check your work. If you spot any air bubbles or other imperfections, use a credit card or other straight-edge tool to smooth them over as much as possible. Just be careful not to press too hard as this could cause damage to the decal itself. If any small bubbles remain, don’t fret; there’s a good chance these will smooth out on their own within a few days.
For more help with applying your car decal or for assistance with a custom decal design for your vehicle, Signs By Randy has you covered. Contact us today for a free estimate.


 See More Examples Of Our Work